Hi all,
I'm inspired to build some DIY acoustic panels for my living/listening room after hearing a really exquisite system setup in a dedicated sound room. I was absolutely floored by the tight, crisp quality of the bass notes. The owner explained that he had spent a lot of time dialing in the bass, which involved extensive room treatments, moving speakers around and testing with Room EQ Wizard.
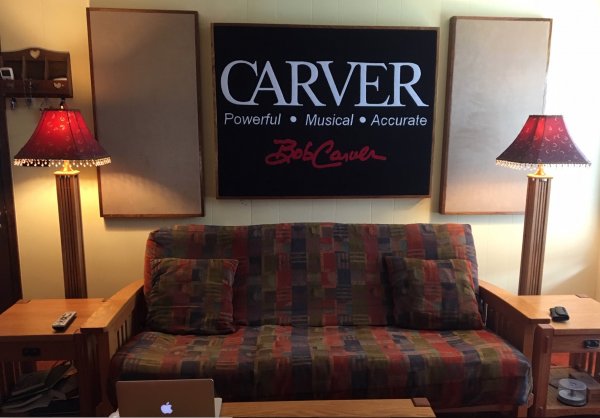
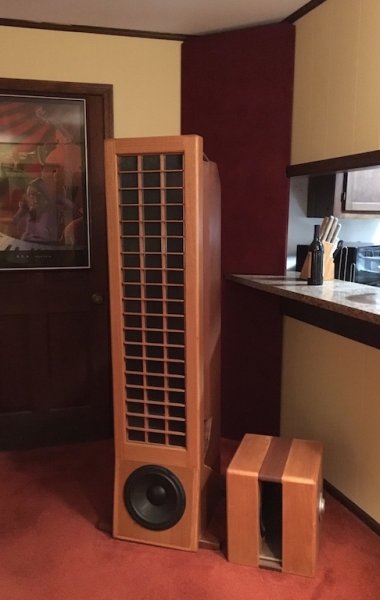
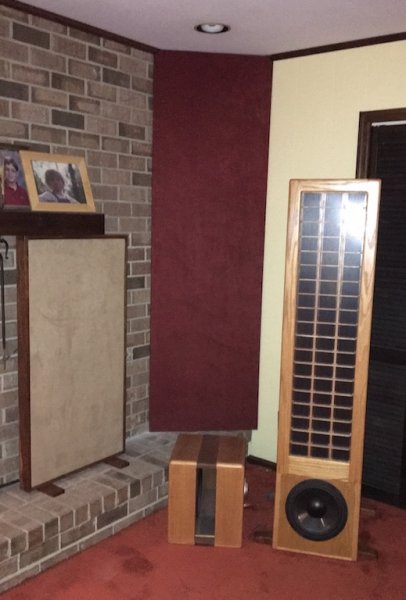
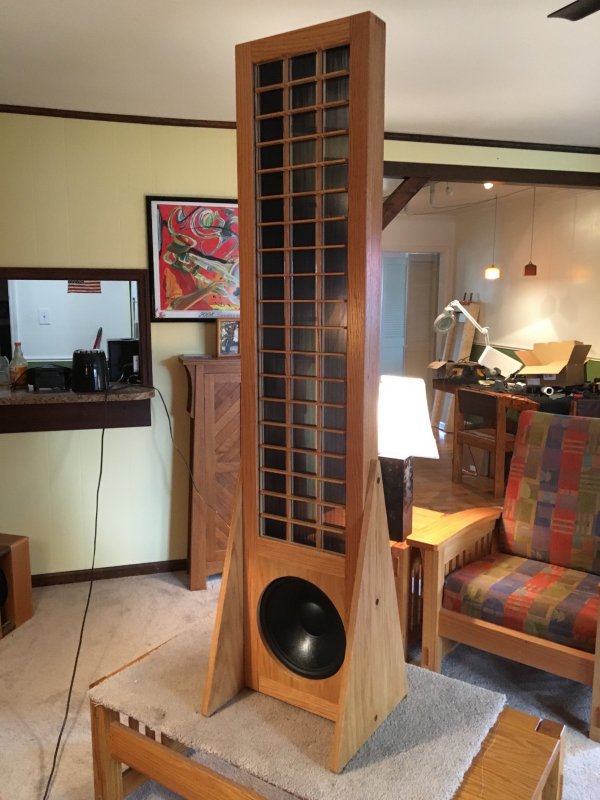
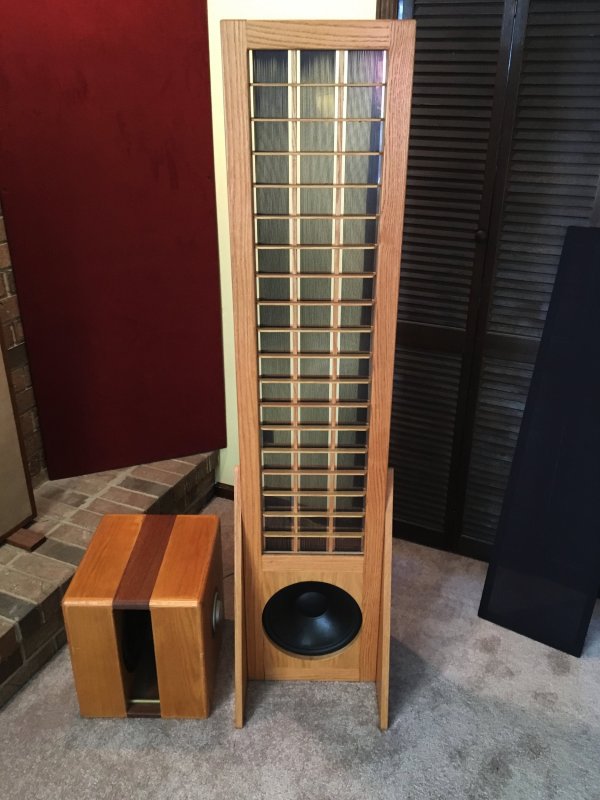
By comparison, my more modest system of vintage Carver chip amps driving DIY ESLs and Ripole subs has the magical ESL midrange but the bass isn’t nearly as tight and clean as the system I had just heard.
I may not be able to achieve that level of bass quality with my budget system, but I want to improve it as much as I can, and I think room treatments will help.
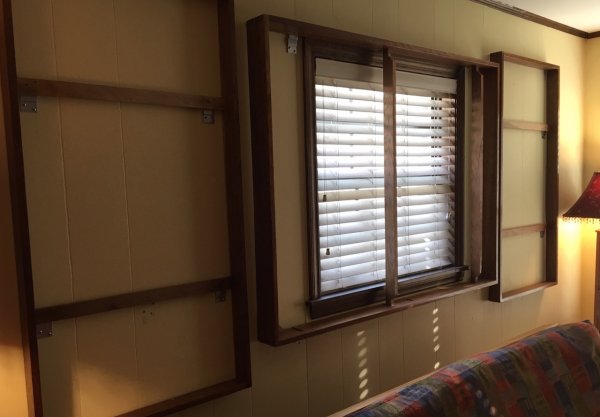
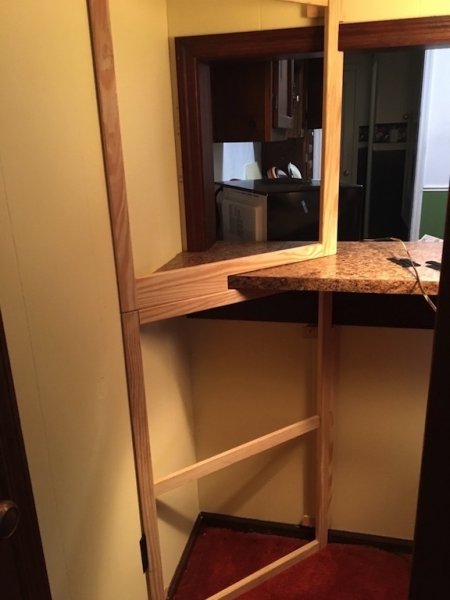
I’m starting with the basics—just corner bass traps and a few acoustic panels placed to tame the first reflections, and especially the reflections off a big window located right behind my head when sitting at my listening spot on the sofa.
I ordered (18) 2'x4' x 2 inch Rockwool 60 and some fabric, which should arrive in a few days. In the meantime, I've been pondering options for building the traps and panels. The corner traps will use 4" of Rockwool 60 and 2" for the wall panels. One of the wall panels will be 42 x 56 inches and cover that window behind my head… I think this panel will make the most difference.
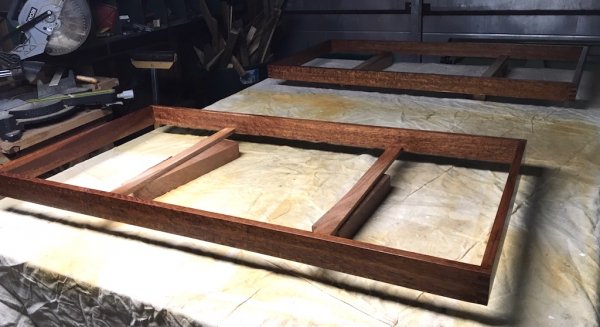
Most DIY wall panels I see on the net enclose the acoustic material within a screwed-together wood or MDF frame, with fabric wrapped over the front and frame sides. However; I prefer the aesthetics of an exposed wood frame, even though it takes more time and costs more for the higher finish quality.
For the corner traps; I can save to money on wood by using a variation of this configuration; although I would wrap the fabric over the outside of the grill frame rather than exposing the grill frame:
http://webblab.sk/home-studio/3-corner-bass-traps
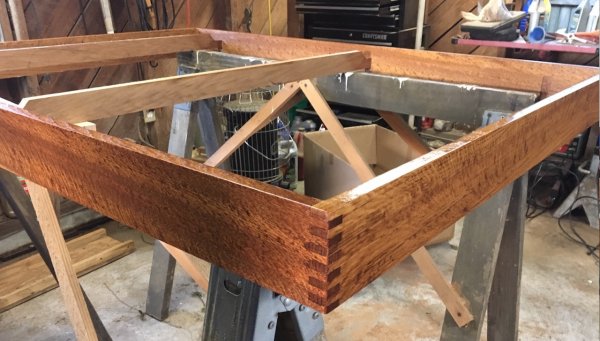
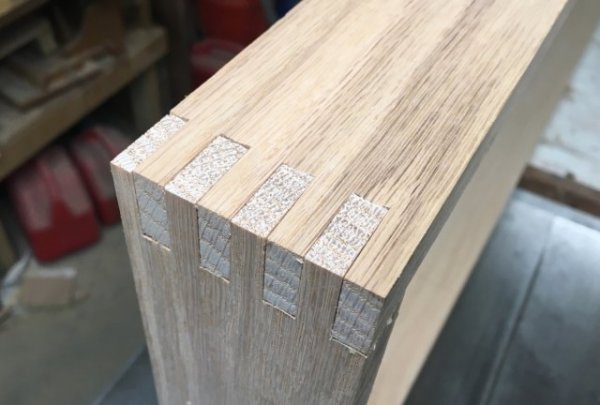
For the wall traps; I plan to glue the frames together without screws, using finger joints, as shown in the first photo below.
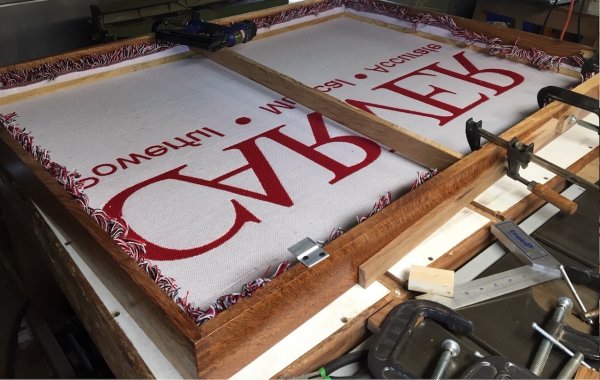
Yesterday I screwed together a small prototype frame from scrap wood and did some experimenting with tacking fabric to the inside of the frame using wood strips and brads. I found that it's no problem getting enough tension. In fact; the fabric can be tensioned arbitrarily tight using this method.
The wood strips were 3/16 x 3/4 inches and cut to make a snug fit, and I cut up an old shirt for the fabric. It's fairly easy to pull the fabric between the strip and frame to achieve the desired tension.
I first applied tension across the panel's midpoints in the vertical and horizontal directions and applied clamps, and then continued pull the fabric tight along the remaining edges while shooting in some 5/8" brads to nail down the strips. The results were quite good.
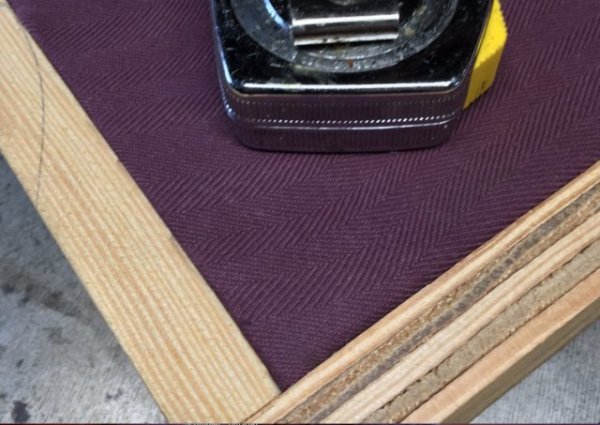
The last photo below shows a corner area of the scrap frame, with the fabric pulled so taught that my tape measure sitting on it creates only a slight deflection.
Lessons learned:
- Sand a radius on wood strips and smooth over the sharp corners to prevent snagging the fabric.
- It's easier to remove clamps than brads or staples-- with enough clamps on hand, the tensioning can be fully completed and checked for tight corners and no wrinkles before committing to nailing down the strips.
I will post more pics and info as the project progresses.
Jazz
finger joints in oak:
prototype panel made from scrap wood:
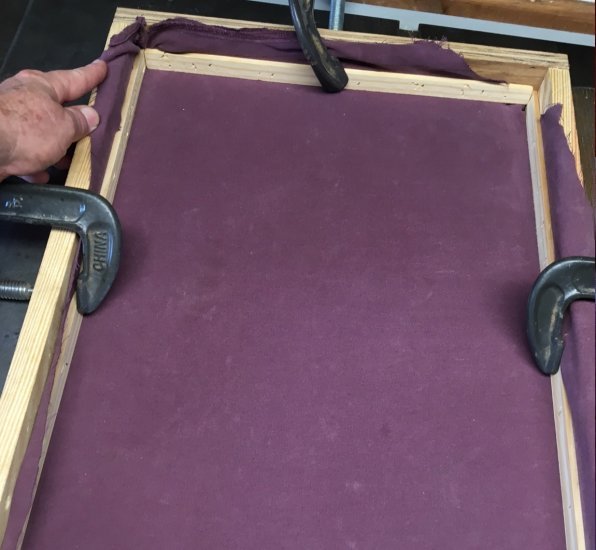
scrap wood prototype panel corner-- looks like this is gonna work:
I'm inspired to build some DIY acoustic panels for my living/listening room after hearing a really exquisite system setup in a dedicated sound room. I was absolutely floored by the tight, crisp quality of the bass notes. The owner explained that he had spent a lot of time dialing in the bass, which involved extensive room treatments, moving speakers around and testing with Room EQ Wizard.
By comparison, my more modest system of vintage Carver chip amps driving DIY ESLs and Ripole subs has the magical ESL midrange but the bass isn’t nearly as tight and clean as the system I had just heard.
I may not be able to achieve that level of bass quality with my budget system, but I want to improve it as much as I can, and I think room treatments will help.
I’m starting with the basics—just corner bass traps and a few acoustic panels placed to tame the first reflections, and especially the reflections off a big window located right behind my head when sitting at my listening spot on the sofa.
I ordered (18) 2'x4' x 2 inch Rockwool 60 and some fabric, which should arrive in a few days. In the meantime, I've been pondering options for building the traps and panels. The corner traps will use 4" of Rockwool 60 and 2" for the wall panels. One of the wall panels will be 42 x 56 inches and cover that window behind my head… I think this panel will make the most difference.
Most DIY wall panels I see on the net enclose the acoustic material within a screwed-together wood or MDF frame, with fabric wrapped over the front and frame sides. However; I prefer the aesthetics of an exposed wood frame, even though it takes more time and costs more for the higher finish quality.
For the corner traps; I can save to money on wood by using a variation of this configuration; although I would wrap the fabric over the outside of the grill frame rather than exposing the grill frame:
http://webblab.sk/home-studio/3-corner-bass-traps
For the wall traps; I plan to glue the frames together without screws, using finger joints, as shown in the first photo below.
Yesterday I screwed together a small prototype frame from scrap wood and did some experimenting with tacking fabric to the inside of the frame using wood strips and brads. I found that it's no problem getting enough tension. In fact; the fabric can be tensioned arbitrarily tight using this method.
The wood strips were 3/16 x 3/4 inches and cut to make a snug fit, and I cut up an old shirt for the fabric. It's fairly easy to pull the fabric between the strip and frame to achieve the desired tension.
I first applied tension across the panel's midpoints in the vertical and horizontal directions and applied clamps, and then continued pull the fabric tight along the remaining edges while shooting in some 5/8" brads to nail down the strips. The results were quite good.
The last photo below shows a corner area of the scrap frame, with the fabric pulled so taught that my tape measure sitting on it creates only a slight deflection.
Lessons learned:
- Sand a radius on wood strips and smooth over the sharp corners to prevent snagging the fabric.
- It's easier to remove clamps than brads or staples-- with enough clamps on hand, the tensioning can be fully completed and checked for tight corners and no wrinkles before committing to nailing down the strips.
I will post more pics and info as the project progresses.
Jazz
finger joints in oak:

prototype panel made from scrap wood:

scrap wood prototype panel corner-- looks like this is gonna work:

Last edited:


