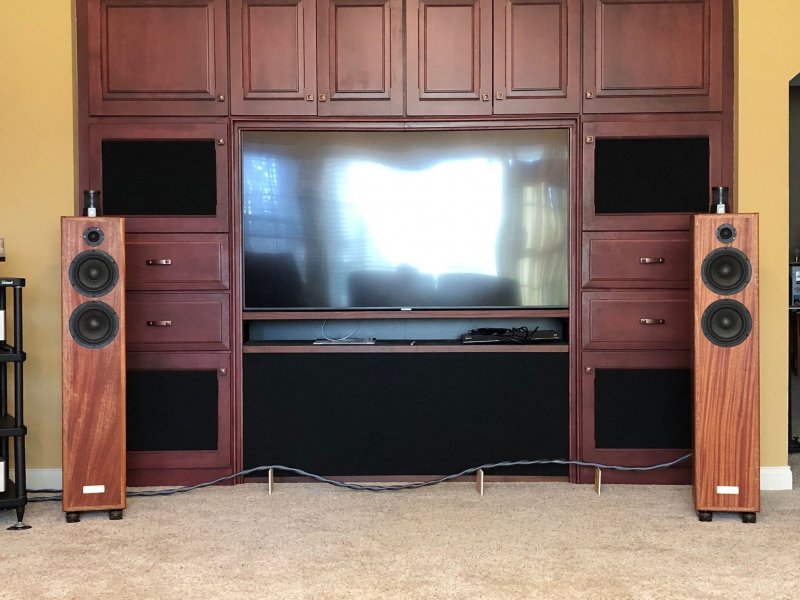
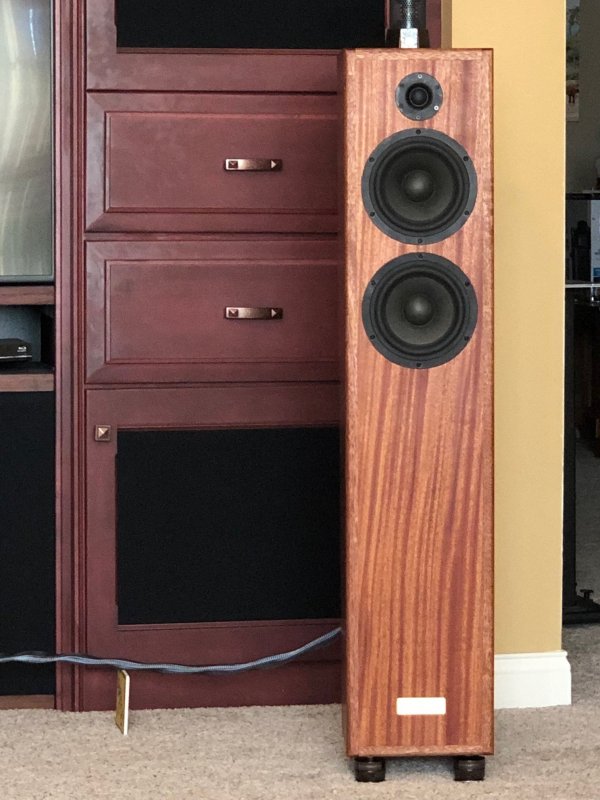
I finally finished my DIY CSS Criton 2TD-X Tower speakers. I wanted to build a pair of speakers that would be satisfying acoustically, aesthetically, would fit my budget, and would be something that a member of my family might eventually inherit and not feel like it was irrelevant at what I hope is many years in the future. So I decided to build them out of solid African mahogany.
I consulted with Lou Hinkley, owner, designer, and craftsman at Daedalus Audio, who has successfully built hardwood speakers for years. His advice was incredibly valuable.
It was exhausting and frustrating at times, and I screwed up along the way, including routing a midwoofer cutout in a mahogany baffle too large. But I feel some sense of accomplishment at what I did manage to achieve. And I am thrilled with the sound, which is very compelling with extremely engaging imaging and extended bass that is much tighter than I expected.
I have a friend who's a skilled amateur woodworker and has a large, well-equipped shop. Here's what we did:
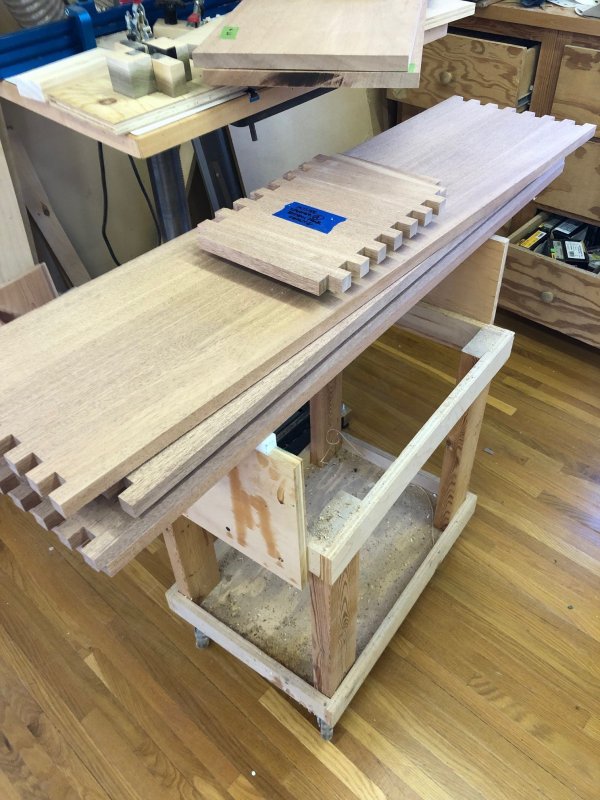
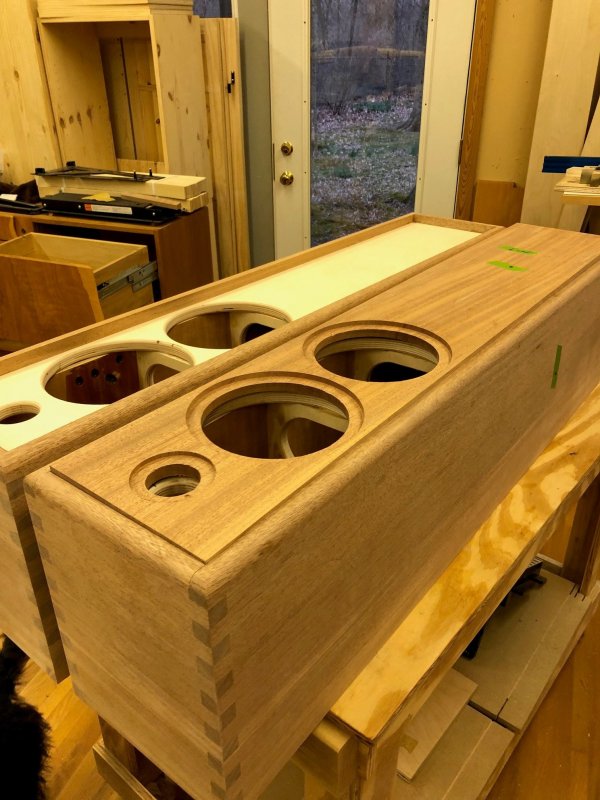
-We used kiln-dried quartersawn African mahogany in sufficient board widths to avoid main panel glue-ups.
-We planed and jointed all boards to ensure uniformity and good fits.
-We cut box joints to join the tops and bottoms with the sides.
-We mounted the back panel in a rabbet.
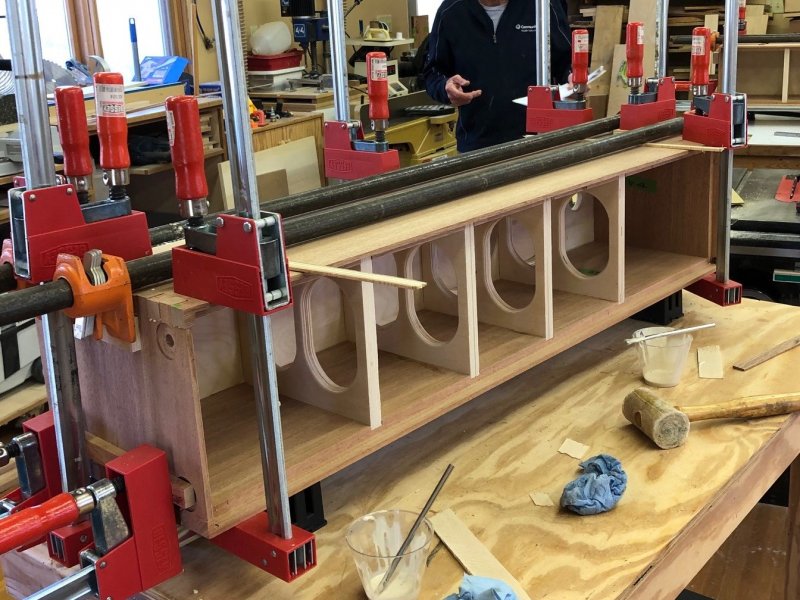
-We installed an 18mm Baltic birch inner baffle in a dado behind the front mahogany baffle.
-We glued and screwed the front mahogany baffle to the inner ply baffle, setting it in the recess between the side panels, tops, and bottoms.
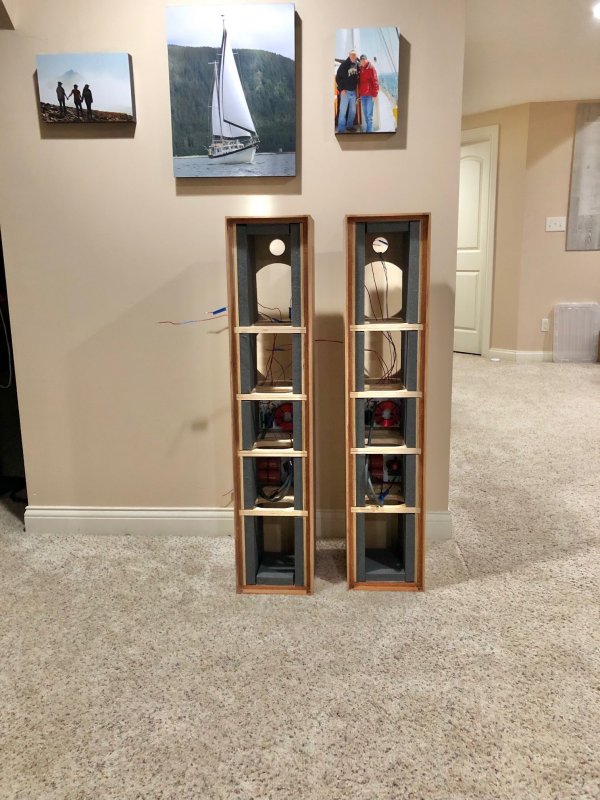
-We used 18mm Baltic birch for the interior braces.
-We routed a 2” radius roundover on the top, bottom, and side edges of the front baffle.
-We lined the cabinet side walls with GR-Research’s No Rez foam.
-We used Neotech 22 AWG solid-core silver wire from the crossovers to the tweeters, and Neotech 16 AWG solid-core copper wire from the crossovers to the midwoofers.
-We used Dayton Audio aluminum panels with cutouts for two pairs of binding posts, then installed a pair of Electra Cable tube connectors and a pair of high-quality gold-plated binding posts in each one, with the tube connectors and the binding posts jumpered together (the input wiring from the crossovers is Cardas 101 speaker cable directly into the tube connectors, which are the primary connection point).
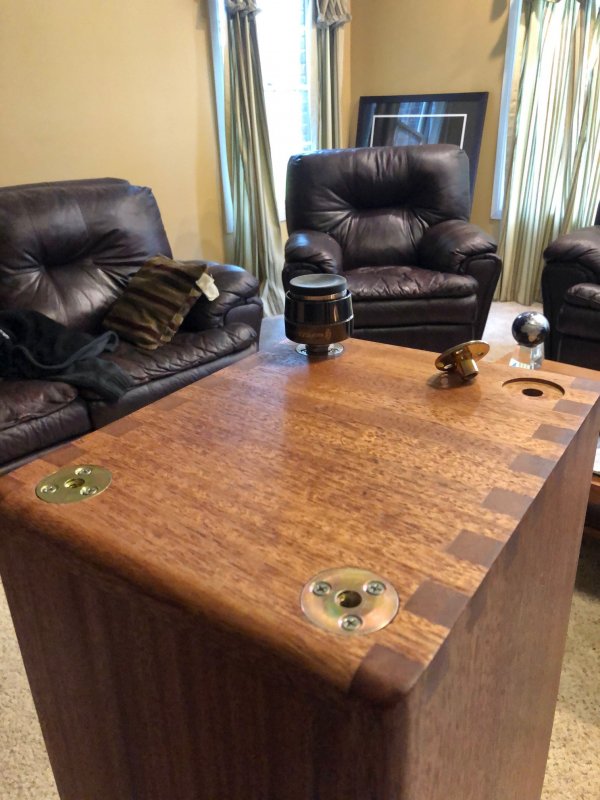
-We installed flanged screw inserts to accommodate IsoAcoustics Gaia II isolation feet (which sit on their spiked carpet disks).
-We finished the cabinets in Odie’s Dark Oil and Odie’s Dark Wood Butter.
The reason I added both the Electra Cable tube connectors and the traditional binding posts to the input panel is that while I prefer the tube connectors, any other speaker cable I’m likely to use will probably have banana plugs or another more traditional connector, so I wanted to be able to accommodate them. At the moment I’m using the binding posts to feed a pair of Take-T Live omnidirectional supertweeters, which sit on top of the main speakers (I don’t understand supertweeters, but no one who has heard my system with them has failed to appreciate the difference they make in overall presentation imaging).


