Next step what you need for arc template protractor
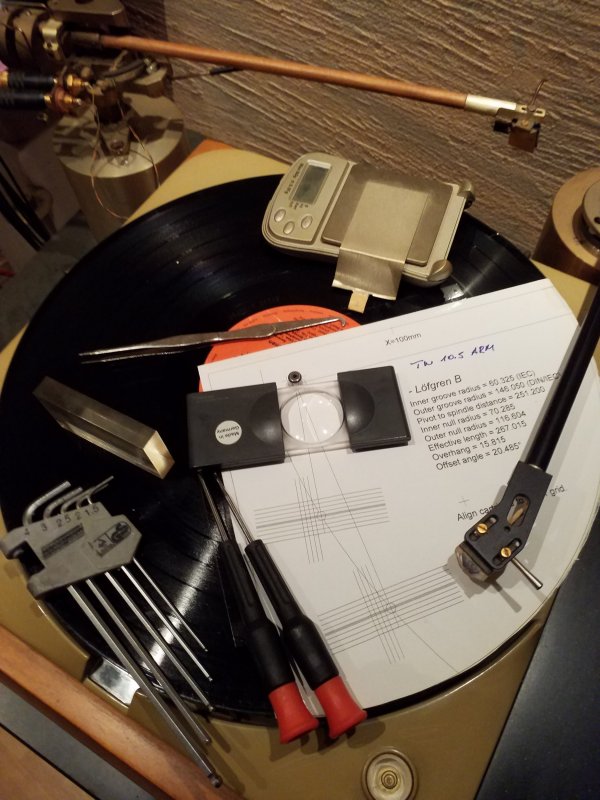
A windows pc,printer,a ruler, a fine sewing needle, scissors and some tesa tape thats all.
Open the program, enter the (pivot to spindle) distance from your tonearm. then select the geometry of the tonearm (löfgrenA/B or stevenson. good tonearm manufacturers indicate these values. google that.
After that on the right side you see three buttons DIN,UNI or Typical. with this you can select how big the playable area of an LP is. my tip get 10lps from your collection measure from the spindle where the first groove starts then select uni,din or typical. then click print arc template then a second window will open where you can see all the data from your tonearm. then click ok for print.
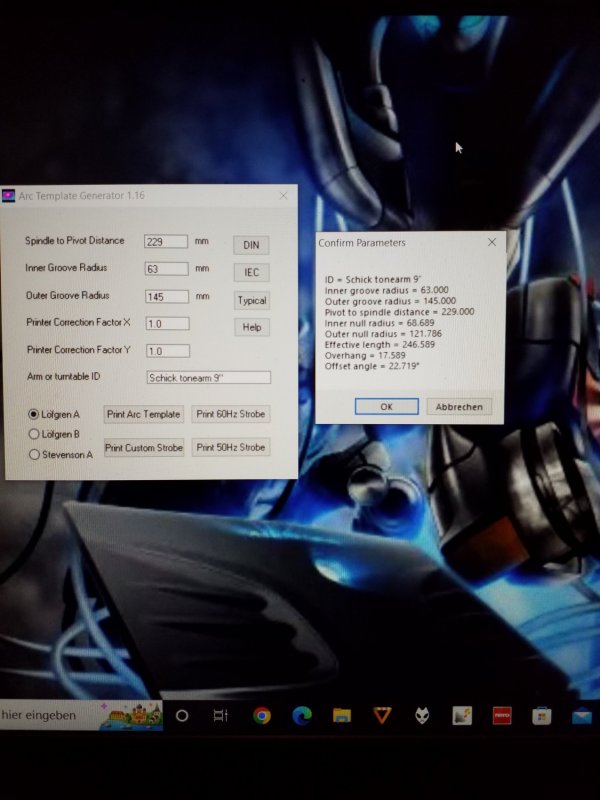
After printing, first measure the points marked x with the ruler to see whether the print size fits x 100mm. if that's correct we start, otherwise you can adjust the value print corection factor until it's correct.
then carefully cut out the spindle hole with the sewing needle.
attention the cleaner you work, the better the result. a small video for the application.
then it looks like this, attach the template to an old lp with a couple of adhesive strips and the protractor for this tonearm is done. this only works for the selected tonearm.
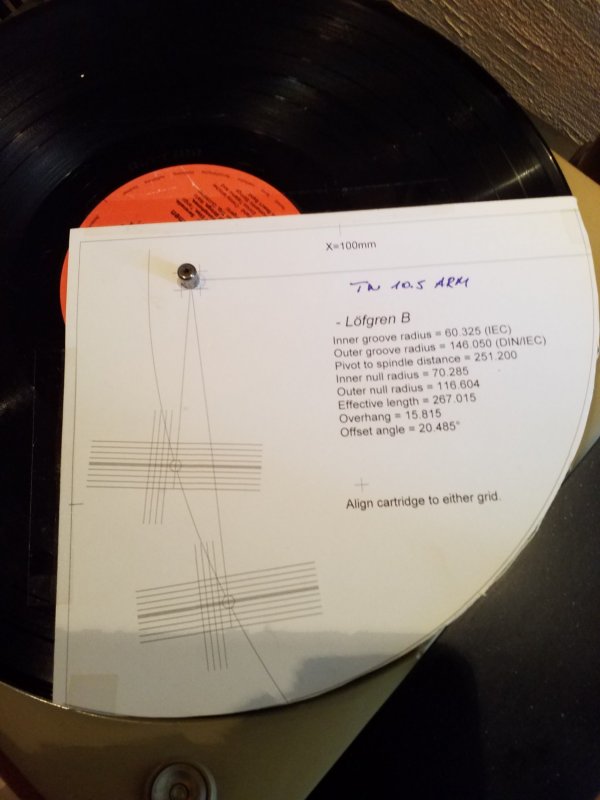
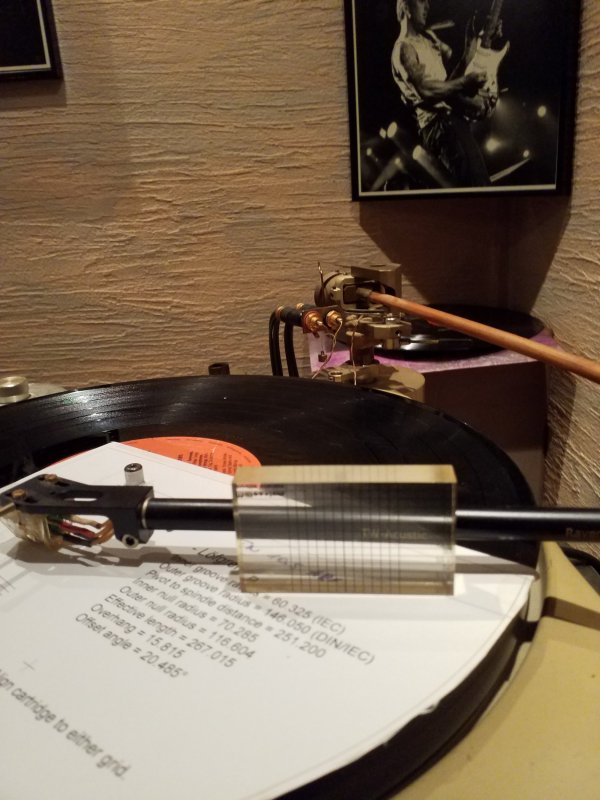
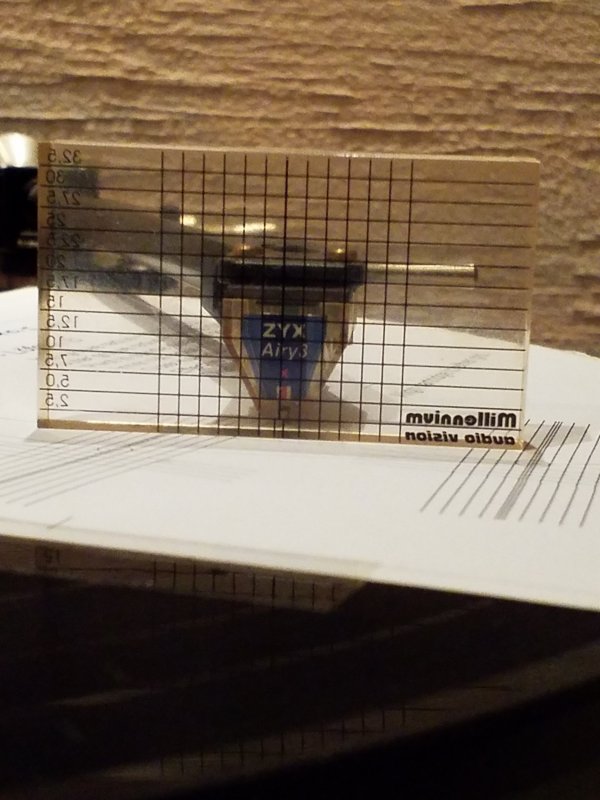
create the correct pivot to spindle distance. the stylus tip must always follow the arc of a circle exactly. then it's perfect, so move the cartridge or tonearm until it fits.
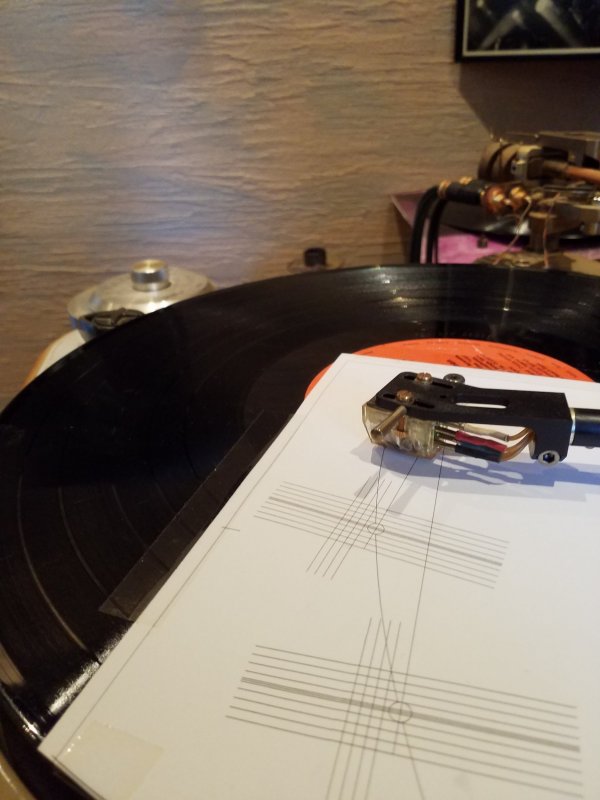
After that go to outer zero radius stylus tip is placed on the cross then align the cantilever between the two outer lines until it is straight.
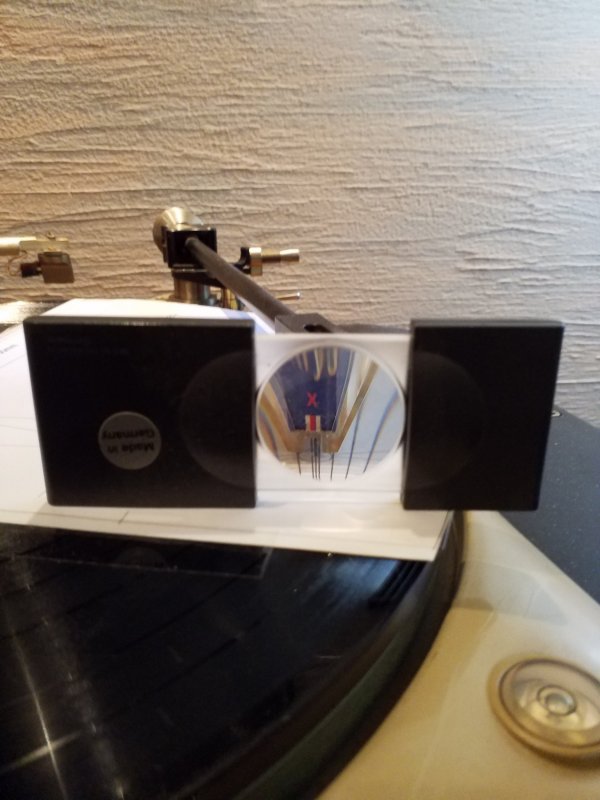
After that go inner point control it when its perfect.
tighten the screws carefully without moving the cartridge. my tip don't tighten the screws too much, it sounds much worse. the best screws in terms of sound were the gold-plated copper screws from ortofon. if you still need help. write me a personal message. for vtf,antiskating and azimuth I will give you instructions when you have installed it.
i hope it helps have fun


