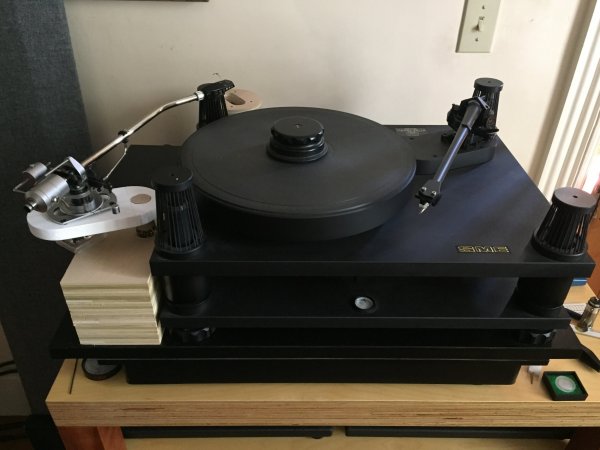
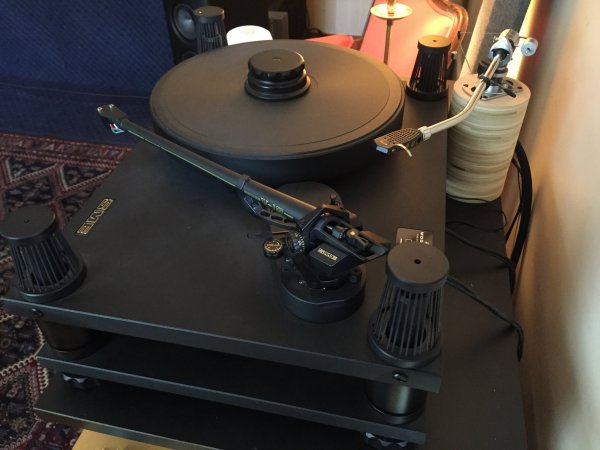
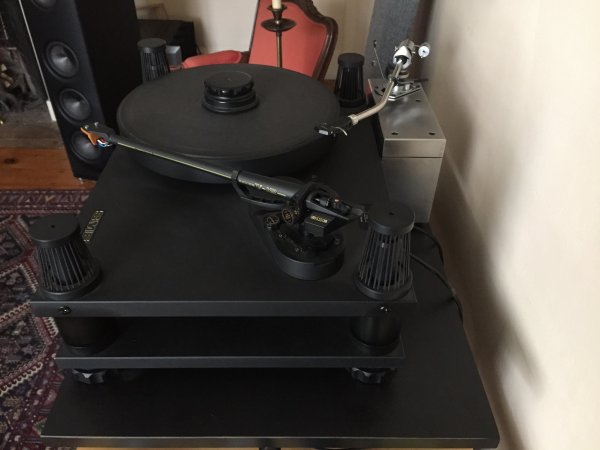
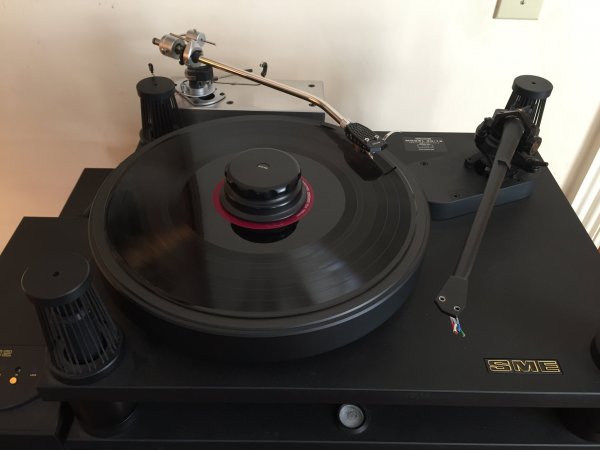
For quite some time I have been curious to compare my SME V-12 tonearm to an SME 3012R. I would also like the flexibility of having two tonearms with two cartridges. Unfortunately, my SME 30/12 turntable is designed to only accommodate one tonearm, and complicating matters even more, it will not accommodate a 3012R because of the required clearance for the counterweight mechanism to swing free of the right rear suspension tower.
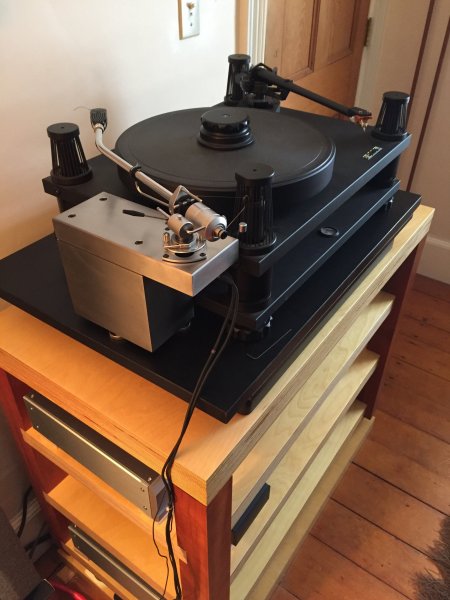
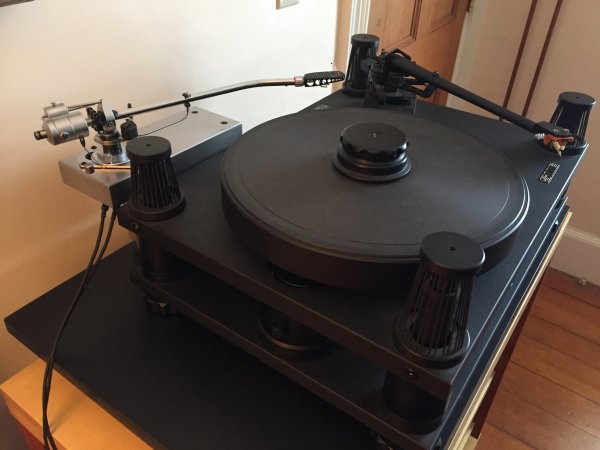
To solve these problems, I began to design an outboard armpod for my turntable last Spring. The design is complicated by the dimensions of a steel ballast plate I use below by turntable. Space is tight with only 4" at the rear of the turntable and about 8" on the left side. The platter is also not symmetrical relative to the left and rear sides of the turntable chassis, so what might work in one location, may not work in the other. I contacted SME and they sent me a drawing with the precise specifications for the SME mounting requirements. I then looked up the nominal spindle to pivot distance for both the 3012R and V-12 tonearms and got to work.
Here are the armpod’s design goals:
1. Accommodate both the V-12 and 3012R tonearms
2. Be located at either the left or rear positions
3. Have adjustable height
4. Accommodate multiple top plates of different materials
5. Easy access to cable connections
6. High mass for sound quality
7. Difficult to move
8. Attractive with good fit and finish
9. Cost was not considered
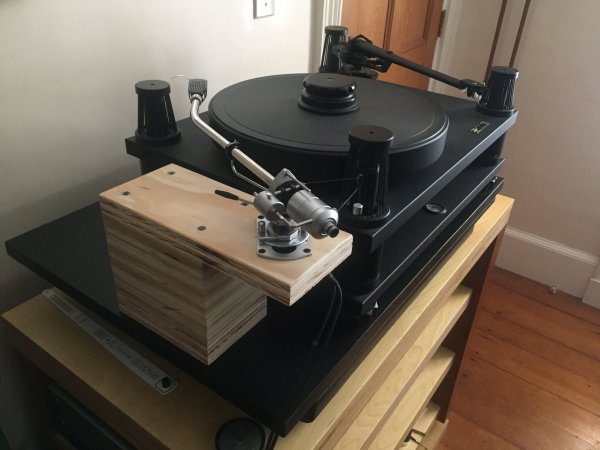
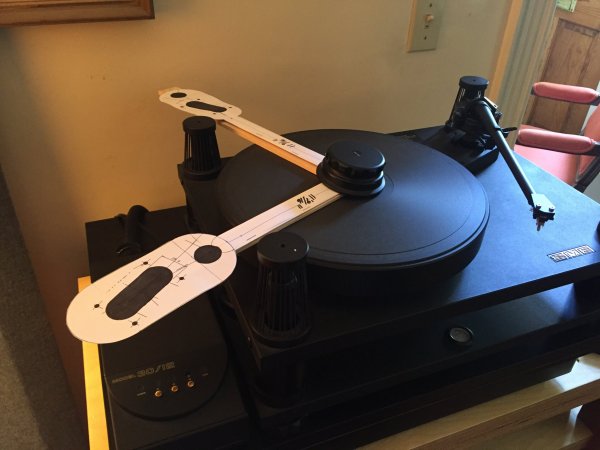
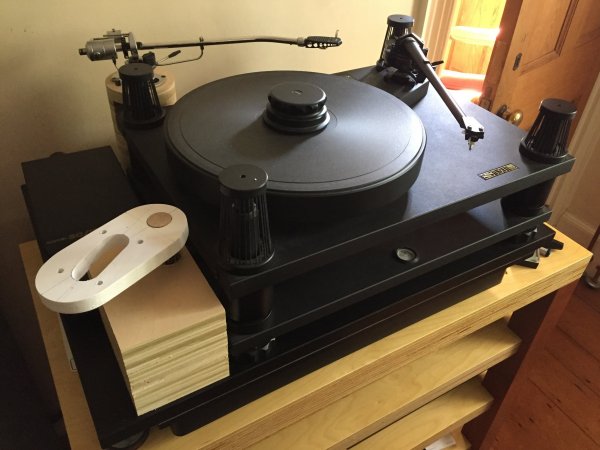
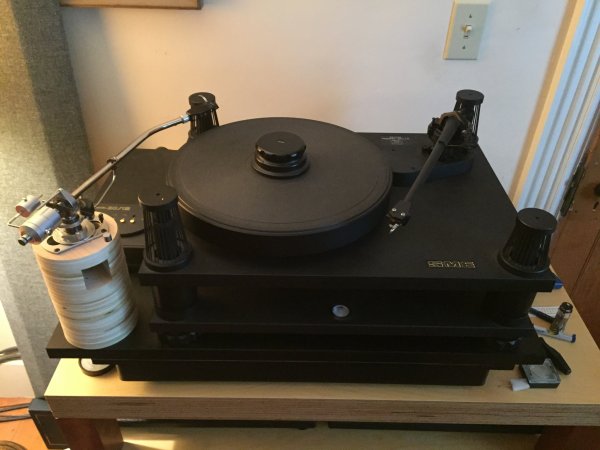
I started by calculating the required dimensions. I then made some paper templates to see what would work. Some designs would work in the side location, but not the back location, and visa versa. I then made three wooden prototypes to confirm dimensions, aesthetics and easy of use.
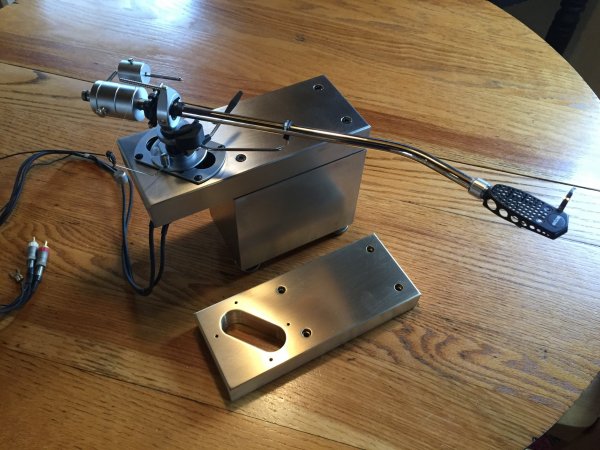
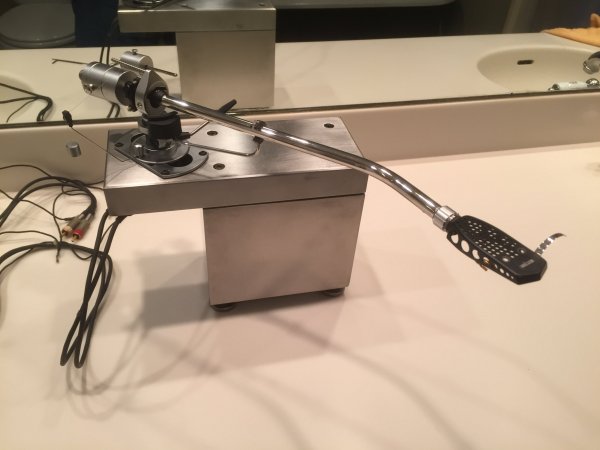
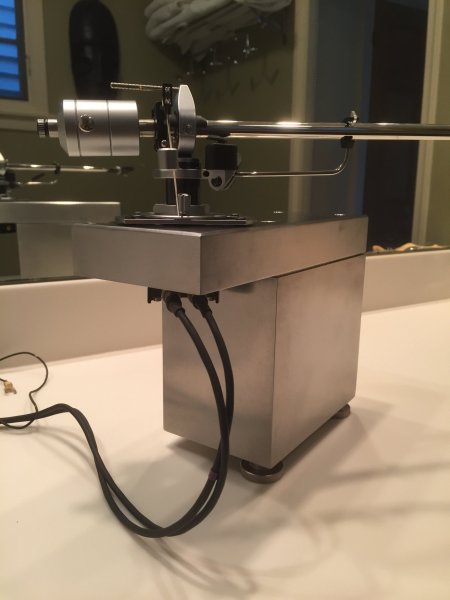
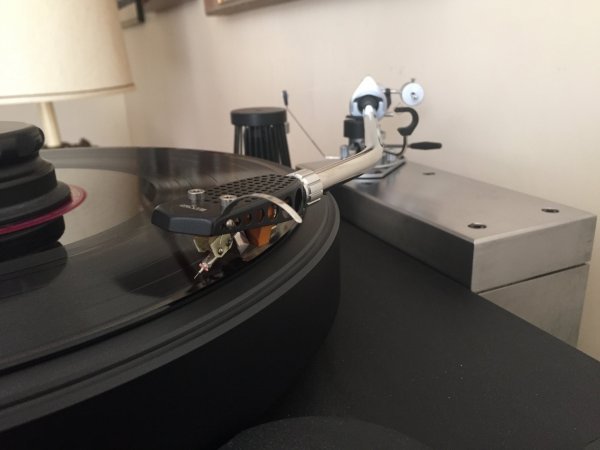
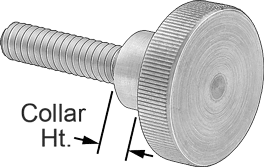
I settled on the most massive and convenient design, a large rectangular base block with a flat rectangular top plate with SME mounting cutout. The #304 stainless steel base has two types of adjustable footers, knurled thumb screws with shoulders and threaded spikes. The thumb screws have a flat bottom so that I have the option to later add some Isodamp material to their bottoms. This will make it even harder to slide the armpod out of position, and it will allow for experimentation with some isolation.
There are two top plates, each 30mm thick made of #304 stainless steel and brass. The SME armboard on the 30/12 turntable is made of brass. The total weight of both the base unit and one top plate is 40 lbs.
I spent a few weeks coming up with the design and creating the drawings and specifications. I took the design to four local machine shops for quotes. Three shops were too busy or did not want to take on such a small, one off project. One machinist agreed to do it, but he was busy and had to wait for a free machine. It took three months to finish the job.
I mounted the 3012R and installed the armpod about a week ago. I am very pleased with the results. The project meets all of its design goals, but most importantly, it sounds great.
I would like to publicly thank member ddk for all of the assistance he has given me with both the SME 3012R arm and with this armpod project. Without his advice, the project would not have been such a success. Thank you David.
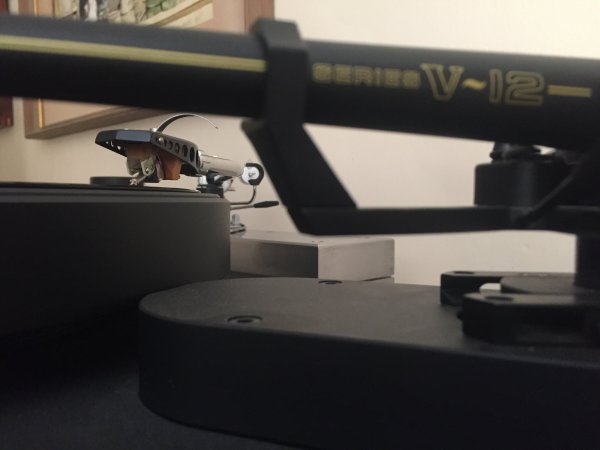
Here are some photos in the next few posts showing the paper templates, the wood prototypes, and the end result:


Last edited:


