Hi GS-Maxi,
To answer your first question... The uF of the coupling caps you need in a preamp depends on the power amps you use with it. Since I use my REFAnn in tandem with Ayre MX-R Twenty, what I have now in coupling caps is more than enough. Also, what I discovered, is that quality of the caps is much more important than quantity...
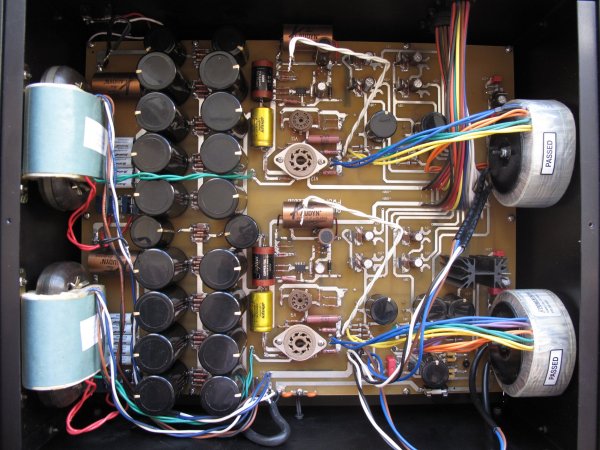
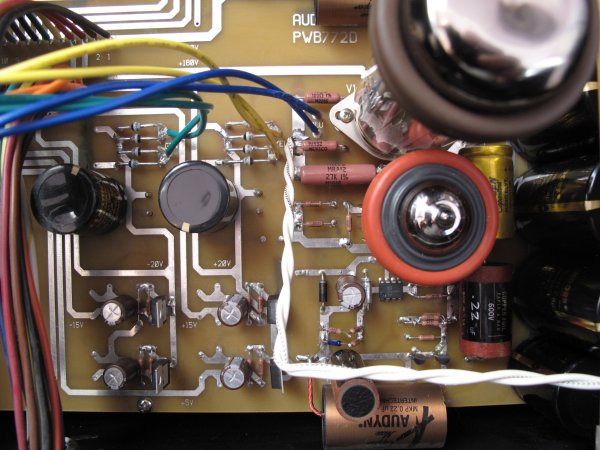
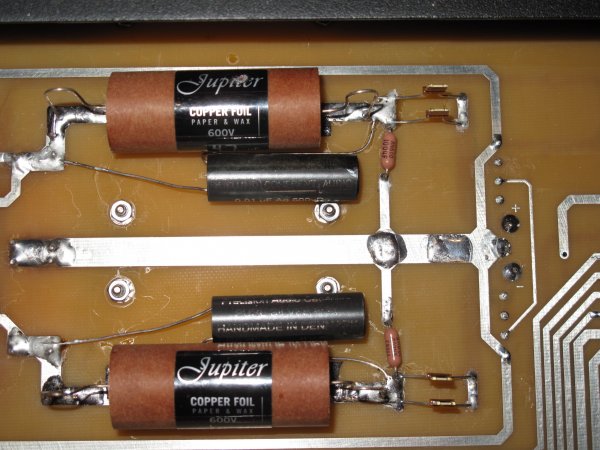
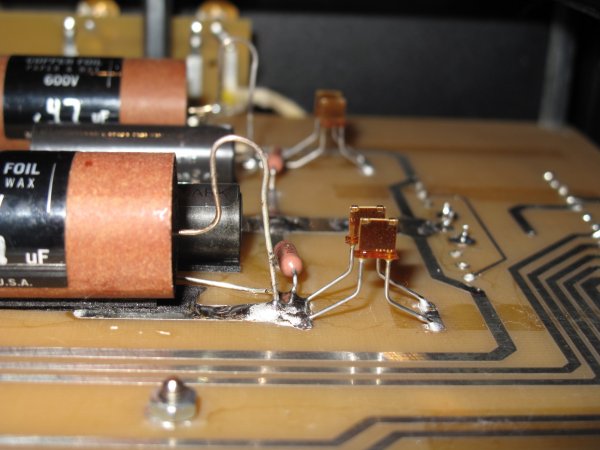
Of course I changed the bypass caps too! I replaced them with Duelund 0.01uF 600Vdc Silver (Ag) Foil & Wax/Oil Precision BYPASS Capacitors. On the photos you can see them right next to the Jupiters.
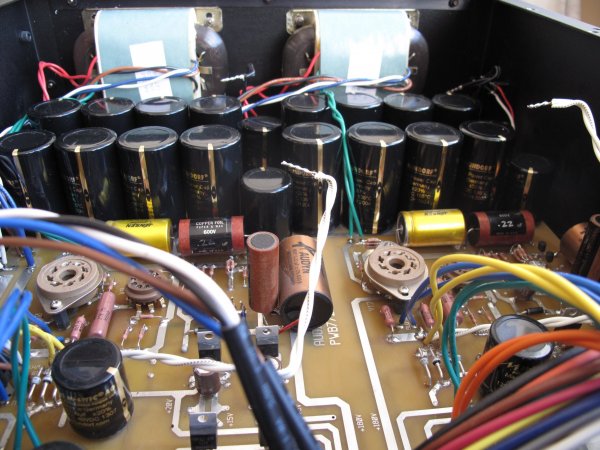
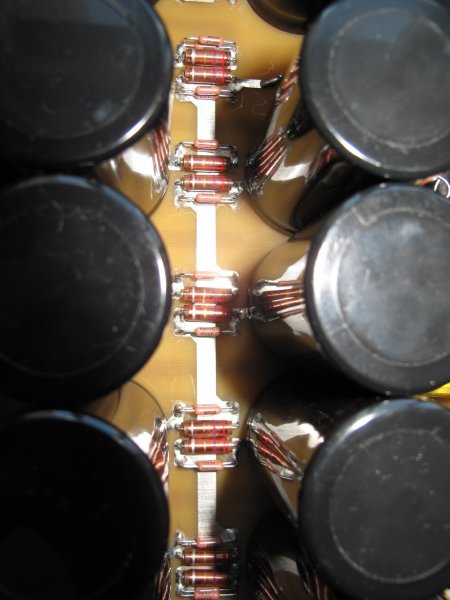
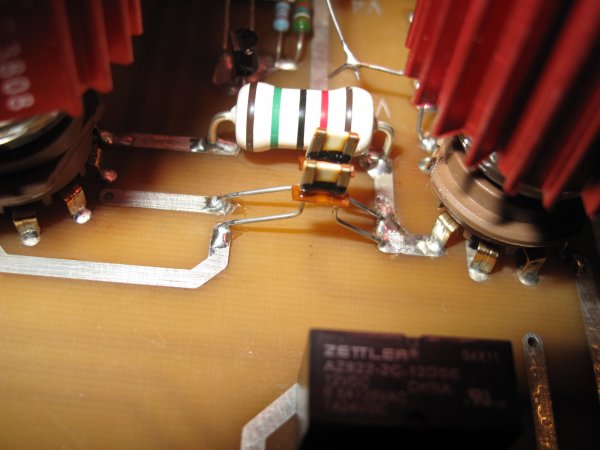
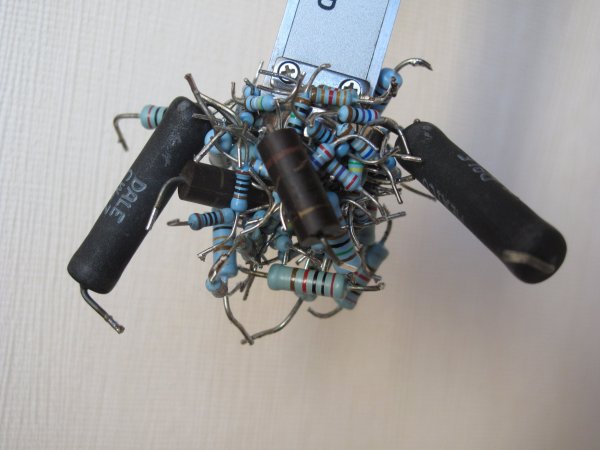
Second improvement is of course (!) to get all the important (not all) Rectifier-Diodes (20) resistors (24 x Dale) in the PSU to the same fast and precise level.
GS-Maxi, I never got round to changing stock diodes and resistors but now you got me interested. How do you identify the important ones? Since we own the same preamp and you've already done that with very good results, I might as well use "your recipe" on the important rectifier-diodes and resistors. So, can you tell me which are the important ones and worth changing (here or PM me)?
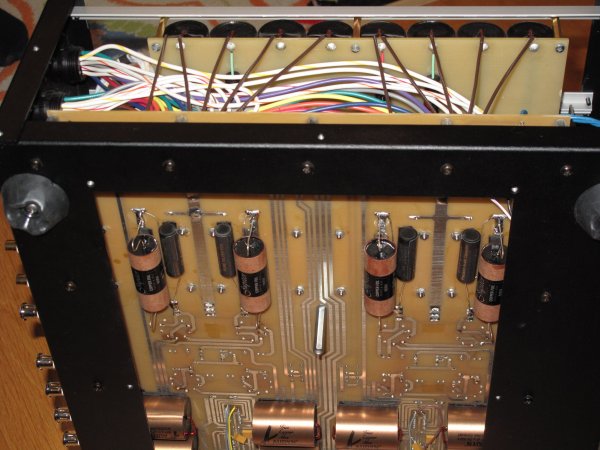
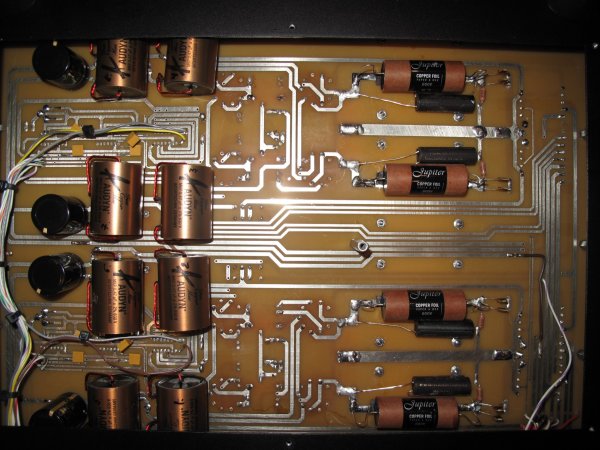
Let me start with a pic of the development status ... here is the first one I had on my mobile, more will follow the next days, when I could take some pics of the pre section:
Replacement with DALE 1% resistor (crucial currents to and from the tubes) and elimination of microphonics (Herbies tube dampers) and protection against floating around electrons (Pearl Hi-Fi):
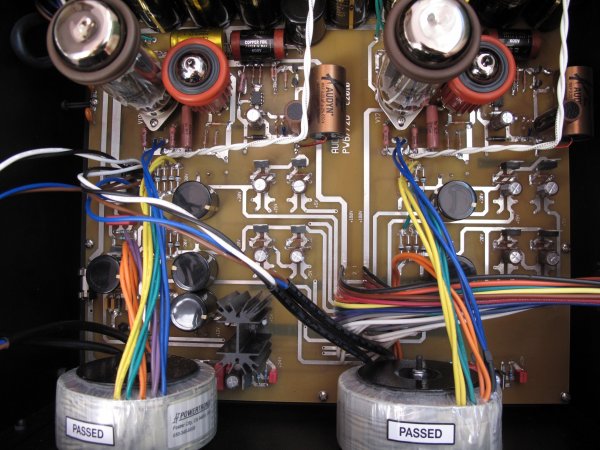
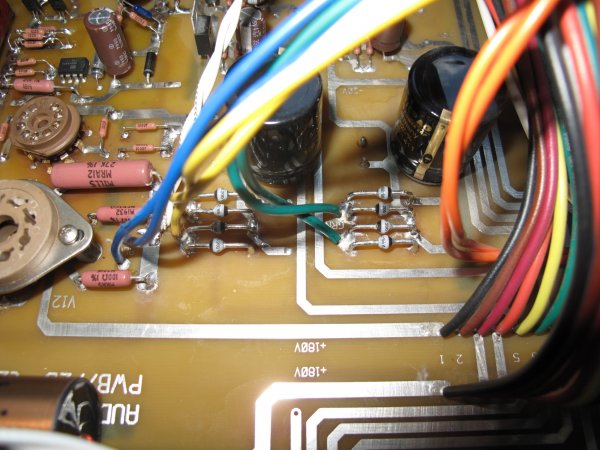
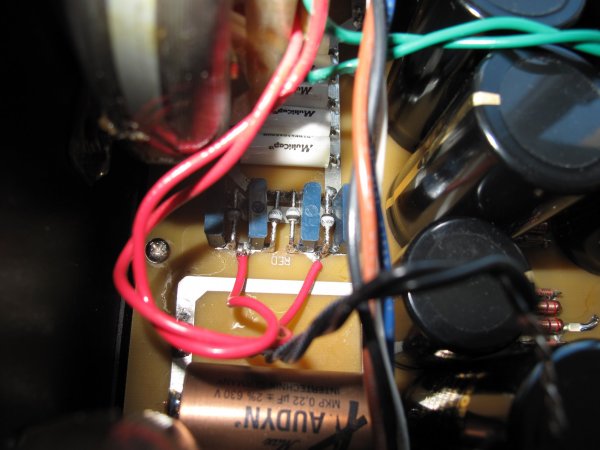
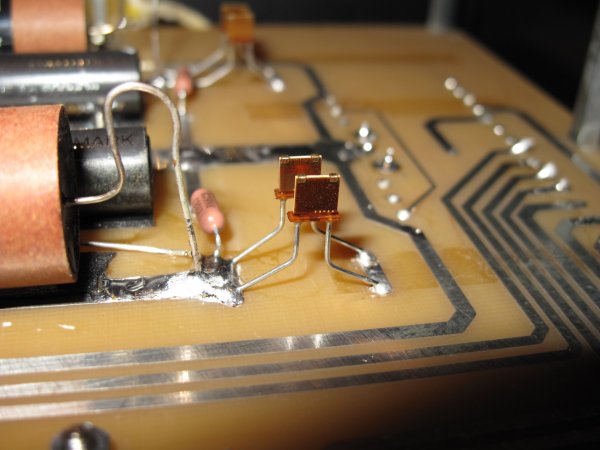
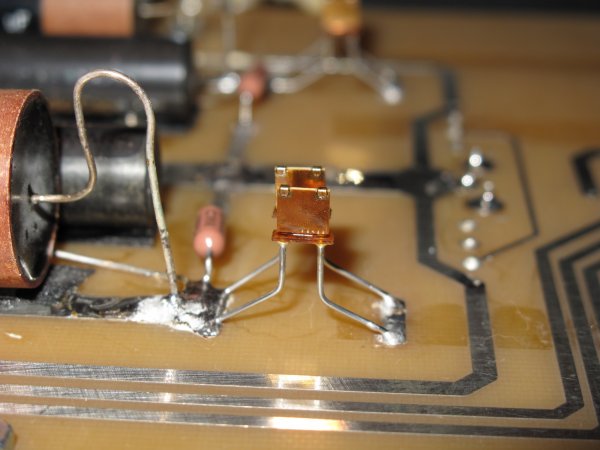
Inspired by GS-Maxi, I am in the process of replacing most stock resistors and diodes with decent stuff. Replaced Audio Note electrolytic caps with Mundorf. The PS unit is already done. Here are some pics.
I agree with you that you can only get to the best by starting with a really good circuit and then carefully selecting the best components.
Your pre could never be sold commercially, because of the 20x markup ratio on top of those insane parts.
By the way, I have another minor suggestion for you. Replace all the little aluminum heatsinks with copper ones. You will be surprised at the difference this makes!!
I don't know of any direct commercial available replacement in copper. I make my own from copper sheet squares like these .
You don't need that much metal to act as a heatsink, so I use 3 plates, the middle one flat and the outer ones bent out to the sides for airflow. It is important to use a brass screw, as you are trying to remove any ferrous materials away from the regulators. You will notice less grain and richer tonal colours.
Another option to replacing the heatsink, is to just put a copper plate between the device and the heatsink, so that the regulator is contacting with copper and not aluminum. Then use a brass screw. The reasoning behind this is the removal of eddie current in the heatsink.
David, thanks a lot for a new idea! I've PMed you on this.
My engineer has left and the system is up and running again. What I'm hearing brings me to an inevitable conclusion: quality of resistors (and diodes) in audio electronics is as important as capacitors. Very glad I did it! Low-end resolution and articulation is much better. Top end is silky-smooth. Tonal richness is better. Sound stage is deeper and the background is darker. I am bracing myself for a long a bumpy break-in period. Not the first time though. Must be brave;-)
P.S. The magnetic crap my engineer soldered out is already in the trash can. Amen.
I'd be especially careful replacing anything, particularly capacitors, with different manufacturers of the same printed value without confirming the exact value with a capacitance meter. I've been where Ayreman is for most of my audio life, modifying almost anything that can be opened, in search of better sounding parts. Caps are notoriously high in variance from published values. They are surprisingly often +/- 20% even if the values suggest they are +/- 5%. But even that may not be good enough, A finely tuned circuit can sound totally different with a 5% change of value from what is being replaced. If your cap value is lower than stock, its easy to piggy back caps in parallel to increase the overall value to get the exact value of the original, but if your stock is lower in farads than your replacement, then its obviously more of a pain. Also keep in mind that ideally you don't want to change the ESR when you change cap brands. Doing this work without a basic meter is simply asking for trouble. The reasons manufacturers chose what they use is based on many things; cost, sonics, size, etc. But at the minimum, you really should match the exact measured value of the original component to be replaced and not rely on the value labeled on the case, which is a potential recipe for disaster.
Congrats, looks to be a monumental effort and executed with very good workmanship. I've done some mods to preamps but nothing like this. What I find is that you can only go so far in terms of improvements by changing components like caps, inductors, diodes and resistors when a large percentage of the sonic quality comes from the transformers and attenuation control. I found that at that point, step up to a better unit and mod it if you so desire or design your own.


")