Happy New Years all!
Just spent some time getting the Nanocon triggers up and running. Just had full success with my monoblocks, so wanted to report -
@viola in case you find some of this useful.
I ordered male and female Nanocon connectors from Mouser -
NSC3M Neutrik | Mouser
NSC3F Neutrik | Mouser
I got a 12V small brick from Amazon:
Amazon.com: GuanTing Universal AC Adapter 12V 2A Power Supply Charger 24W AC110V to DC12V 2000mA 1500mA 1000mA 500mA Power Driver 8 DC Plug Tips 12 Volt Converter Inverter Transformer ac dc Adapter(DC12V~2A) : Automotive
These DC socket to pigtails were useful too:
Amazon.com: 12V DC Power Pigtail Cable,3.3FT 18AWG DC 5.5mm x 2.1mm Female Plug to Bare Wire Open End Power Wire,for 12V DC 5521 Power Wire Supply Repair Cable(2Pcs) : Electronics
I used a 26G 2 conductor (you don't need 3 wire per Angus) from Amazon:
26 Gauge 2 Conductor Electrical Wire 26AWG Electrical Wire Stranded PVC Cord Oxygen-free copper Cable 32.8FT/10M Flexible Low Voltage LED Cable for LED Strips Lamps Lighting Automotive(26/2AWG-32.8FT): Amazon.com: Tools & Home Improvement
I also have a RadioRA2 system in my house, so I used a contact closure device that I can now link into Alexa "Alexa, turn on amplifiers"
Lutron LMJ-CCO1-24-B RF Dimming CCO Module | PROLIGHTING
To power the LMJ-CCO1 (only for Lutron RadioRA2 users) I used this 24V brick:
Amazon.com: 12V DC Power Pigtail Cable,3.3FT 18AWG DC 5.5mm x 2.1mm Female Plug to Bare Wire Open End Power Wire,for 12V DC 5521 Power Wire Supply Repair Cable(2Pcs) : Electronics
I hooked up the +12V from the 12VDC PSU to the red wire on the 26G wire. Ground on the 12VDC PSU went to the NO terminal on the LMJ-CCO1. Ground (black wire) from the 26G wire went back to the COM terminal on the LMJ-CCO1. These will vary according to your contact closure device, of course.
I didn't see
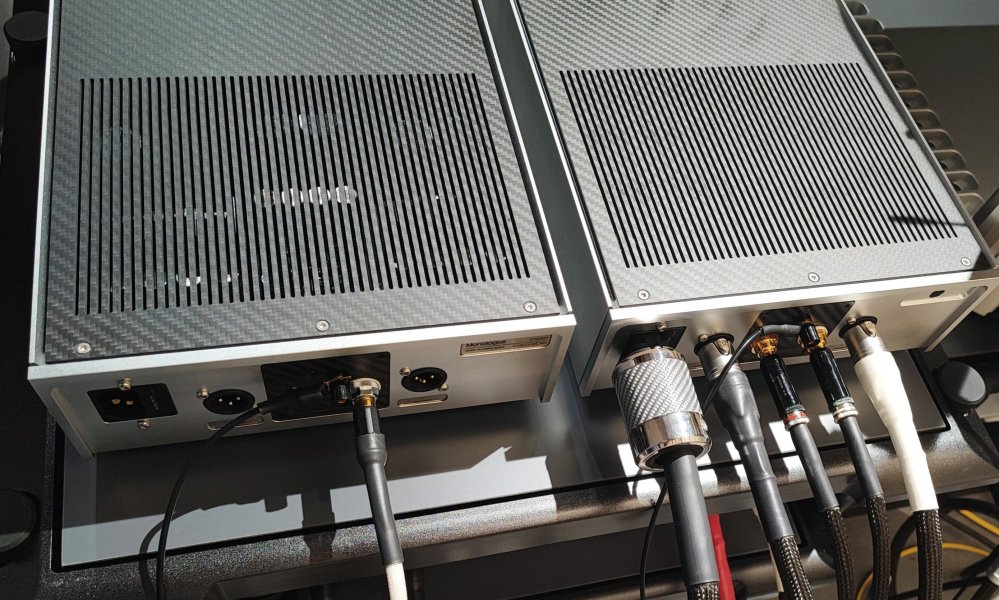
@lscangus ' instructions to use the female connector, so I ended up using the male Nanocon connector for my first wire set. That worked great! The REI monoblock turned on and off reliably. Red +12V was connected to PIN2 on the nanocon and Ground was on PIN1 (the single one at the bottom). The plastic blocks are actually printed with very small 1, 2, 3 numbers on the Nanocon but you have to really squint.
Now this is where I ran into issues. I made up a daisy-chain cable as I understood it, using female - female Nanocon, Pin1 ground connected to Pin1 ground, Pin2 hot connected to Pin2 hot.
The first monoblock directly connected to the LMJ worked great to turn on, but the second one did not. I swapped cables around so that the main cable from the LMJ was going to the other monoblock; this monoblock now turned on, but the daisy chained one did not.
Now I thought, maybe it was because the daisy chained monoblock did not like the female connector. So I swapped my daisy chain cable end to male, i.e. now female to male.
No luck. Still did not work. I checked continuity and shorts with my ohmmeter each time, all pins tested as they should. It was 2am on New Years, so I gave up.
This morning I decided to just fork two parallel cables from the main cable running from the home automation closure device. Male Nanocons at each end. This finally worked and I now have reliable switch on/off of both the REIs together! Woohoo!
Thanks
@lscangus for your advice. Not sure why daisy chain does not work, but I'll worry about that once I have bridged sets

P.S. The REIs have both male and female Nanocon connectors at the back. Not sure if they are any different, but as noted above the male cables were the only ones that worked for me, unclear why. Certainly I could have messed up which was "pin 2" on the female connector but i did it according to the same Neutrik scheme/diagram/block numbers as the male one.
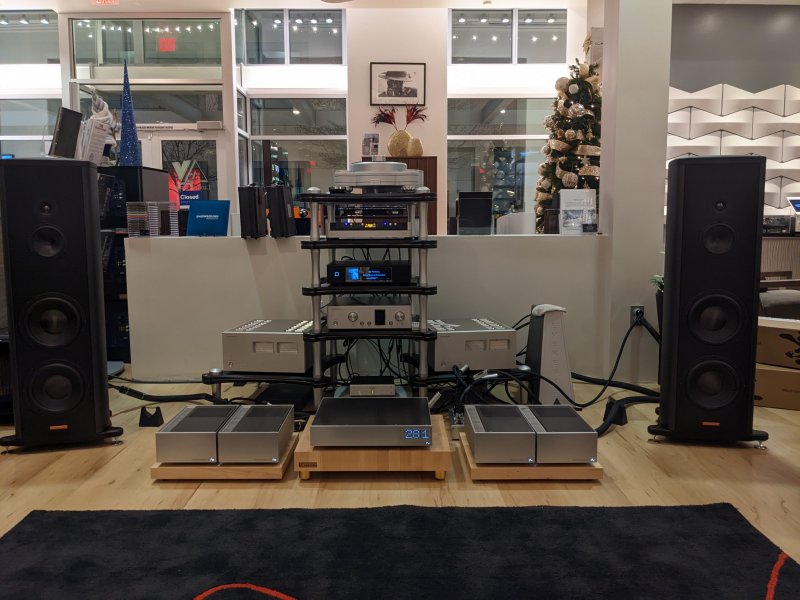
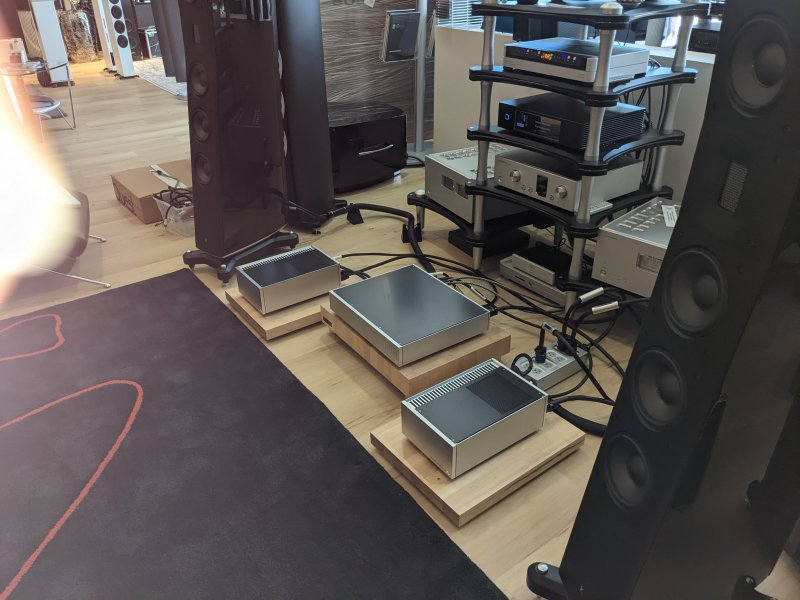
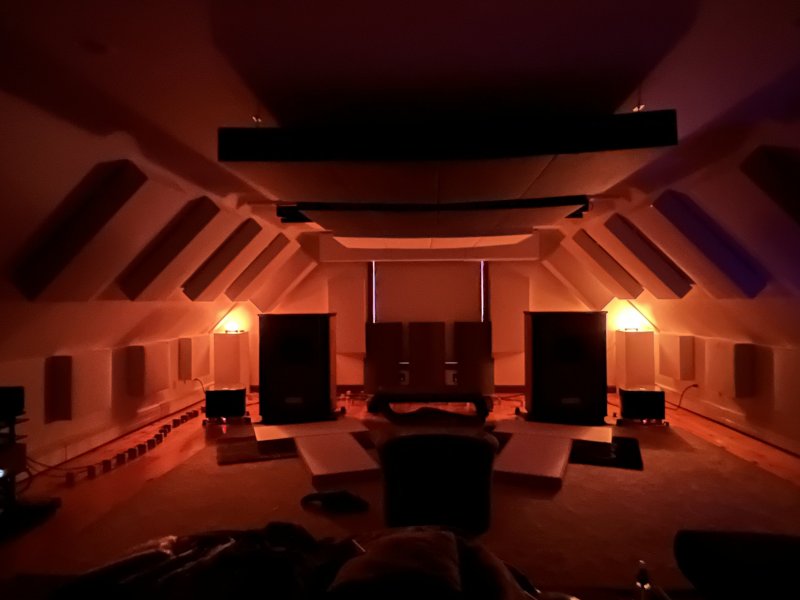
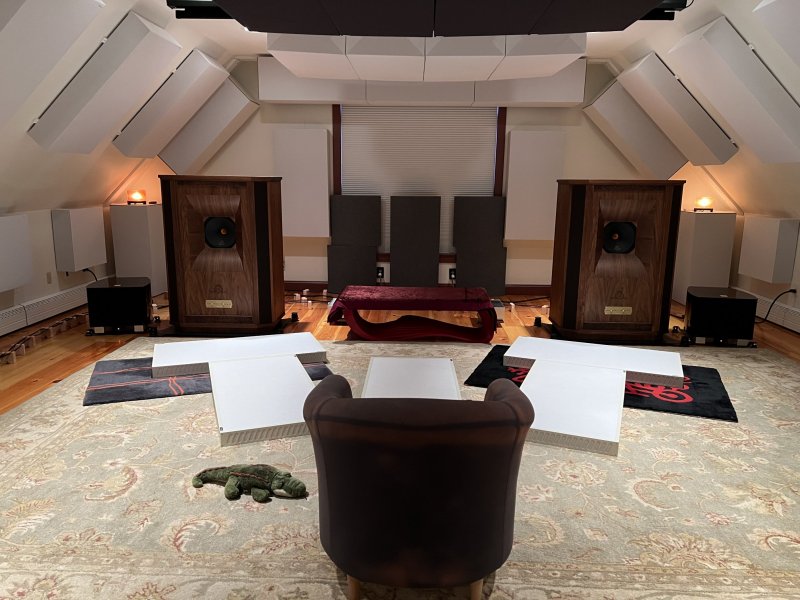
I posted these pics of my current system/room in the Taiko systems thread, but reposting here too! You can see the REIs peeking out from behind the center table between the speakers.


